At dinner the Girl mentioned how excited she was for the Red and White Dance. It’s a daddy-daughter dance held at her school every year. I will reserve my thoughts on the concept of daddy-daughter dances and state only that this kid LOVES this event. I don’t think she’s ever missed it. This year, they decided to make it a masquerade, and the RSVP envelopes came with 2 paper masks, which Daddy and daughter were meant to decorate in advance.

Someone is very happy.
There was zero possibility that The Man would be wearing this paper mask, because his head is simply enormous. I don’t mean that he’s full of himself. I mean he wears a 7 3/4 size hat and even if the string were long enough, he wouldn’t be able to see out of both eye holes at the same time. Fortunately, I made him a rather elaborate Mardi Gras style mask a few New Year’s Eves back for a masquerade party, so he could wear that. The Girl was excited to decorate her mask.
Except she was sick and missed a week of school and we didn’t see her and we all lost track of time and when The Man asked, “When’s this dance again?” the answer was, “Tomorrow.” It was already 6:30, and she had to go to her mom’s at 7:30. We found the blank mask and sorted through some craft supplies and talked about concepts. She has a very specific sense of style. I thought she’d want to make it herself, but I guess she didn’t, because I made it. She designed it, more or less, but I tried to steer some of her choices. Otherwise, it would have had about 50 more design elements to it.
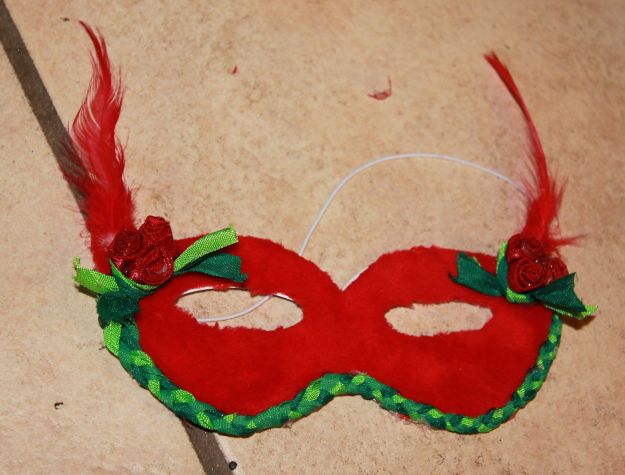
It’s not bad for a scant 3/4 hour’s work. Could have finished some of the edges more, but I bet it’s still one of the best masks at the party.
The main fabric piece is very soft, left over from a year I made Christmas stockings. The braid on the bottom I braided myself; it’s just a coincidence that I had 3 different shades of green ribbon. The big thing was that she wanted it to be mostly red, and she wanted flowers. But I only had silver, blue, and orange flowers. I ended up making these little rosette bouquets out of a scrap of shiny red cloth, and since I didn’t start working on this blog until after 11 tonight, I decided to make one more bouquet and take process pictures, which I never do (and no wonder–do you know how hard it is to point and shoot a DSLR with a macro lens at your own hand?) and make a little rosette tutorial.
So, if you would like to make tiny rosettes, here’s how.
You will need:
- red fabric or ribbon
- scissors
- hot glue gun
- green fabric or ribbon
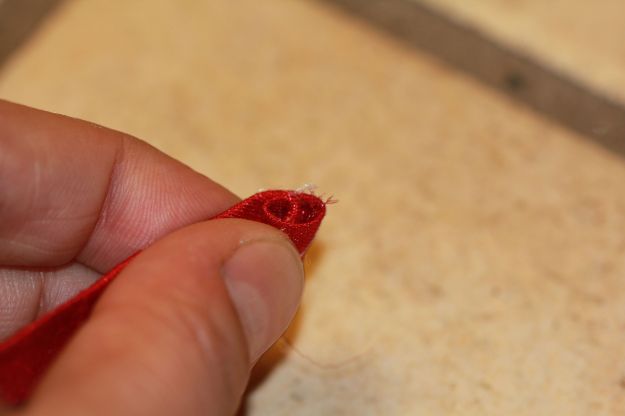
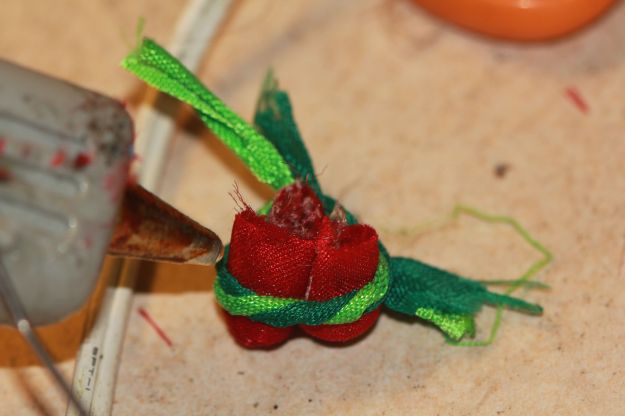
Cut a piece of fabric about 3 inches long and 1 inch wide. Draw a bead of hot glue lengthwise down the middle.

Before the glue dries, fold the fabric in half lengthwise, with the glue in between the 2 halves.

The folded edge is the top of your flower. Now, fold over a few centimeters of the skinny end. Add a drop of glue.

Start rolling the fabric over onto the glue. Pinch the bottom part of the fabric as you go, to create a flower shape, with a flare at the top.
Roll, glue, roll.

If you keep pinching the bottom, the center petals should get squished up, contributing to the flower shape. You can force it into shape with more glue if it doesn’t comply. When you come to the end, glue it down. Now make another rosette. Glue the unfinished sides to each other so you can’t see the glue ends.

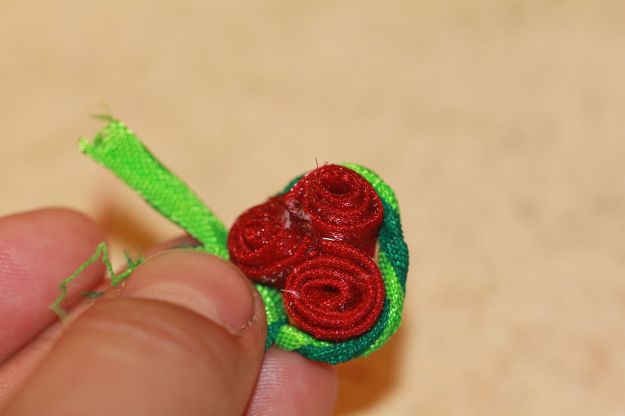
Make a 3rd rosette and hide the glued end by sticking it to the other 2.
Now, take your green ribbon or fabric. Here, I used 2 shades. Twist them up to make them skinny and round.

Then, twist them together.

Now, make a loop, just the right size to form a nest for the flowers. You may want to make an X and pull it through (like you’re starting to tie your shoes) first. Or you can tie it after.

You’re almost there. Insert the rosettes into the loop, tie the loop, and glue the knot.
Turn the whole thing upside down and glue around the bottom of the circle where the green meets the red. You can add some glue to the bottom of the flowers, too.
Now, trim the edges of the ribbon, gently remove all the excess glue (it’s easier to remove when it’s warm; you may need scissors or a razor once it’s cooled).
Viola: rosette bouquet from scraps.
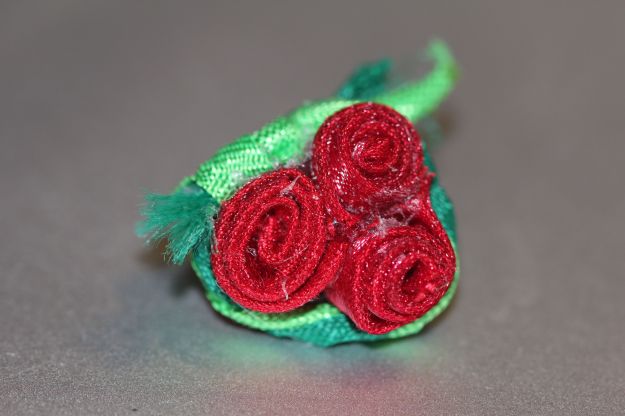
Glue it on things and delight little people who like tiny flowers
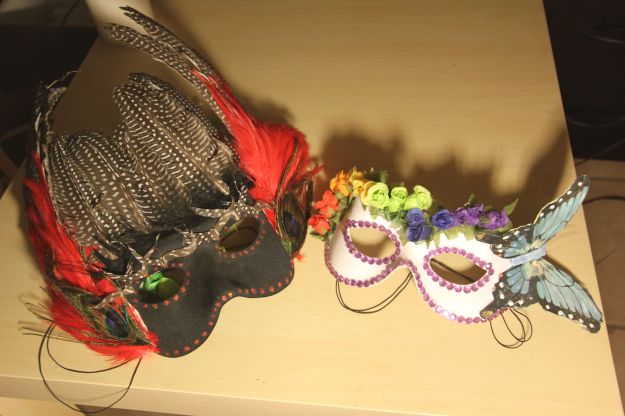
I wanted to link to my photo of the original masks, but I couldn’t find it, which apparently means that I never posted these masks here. That seems weird. But, for continuity’s sake, here are the first Mardi Gras masks I ever made.