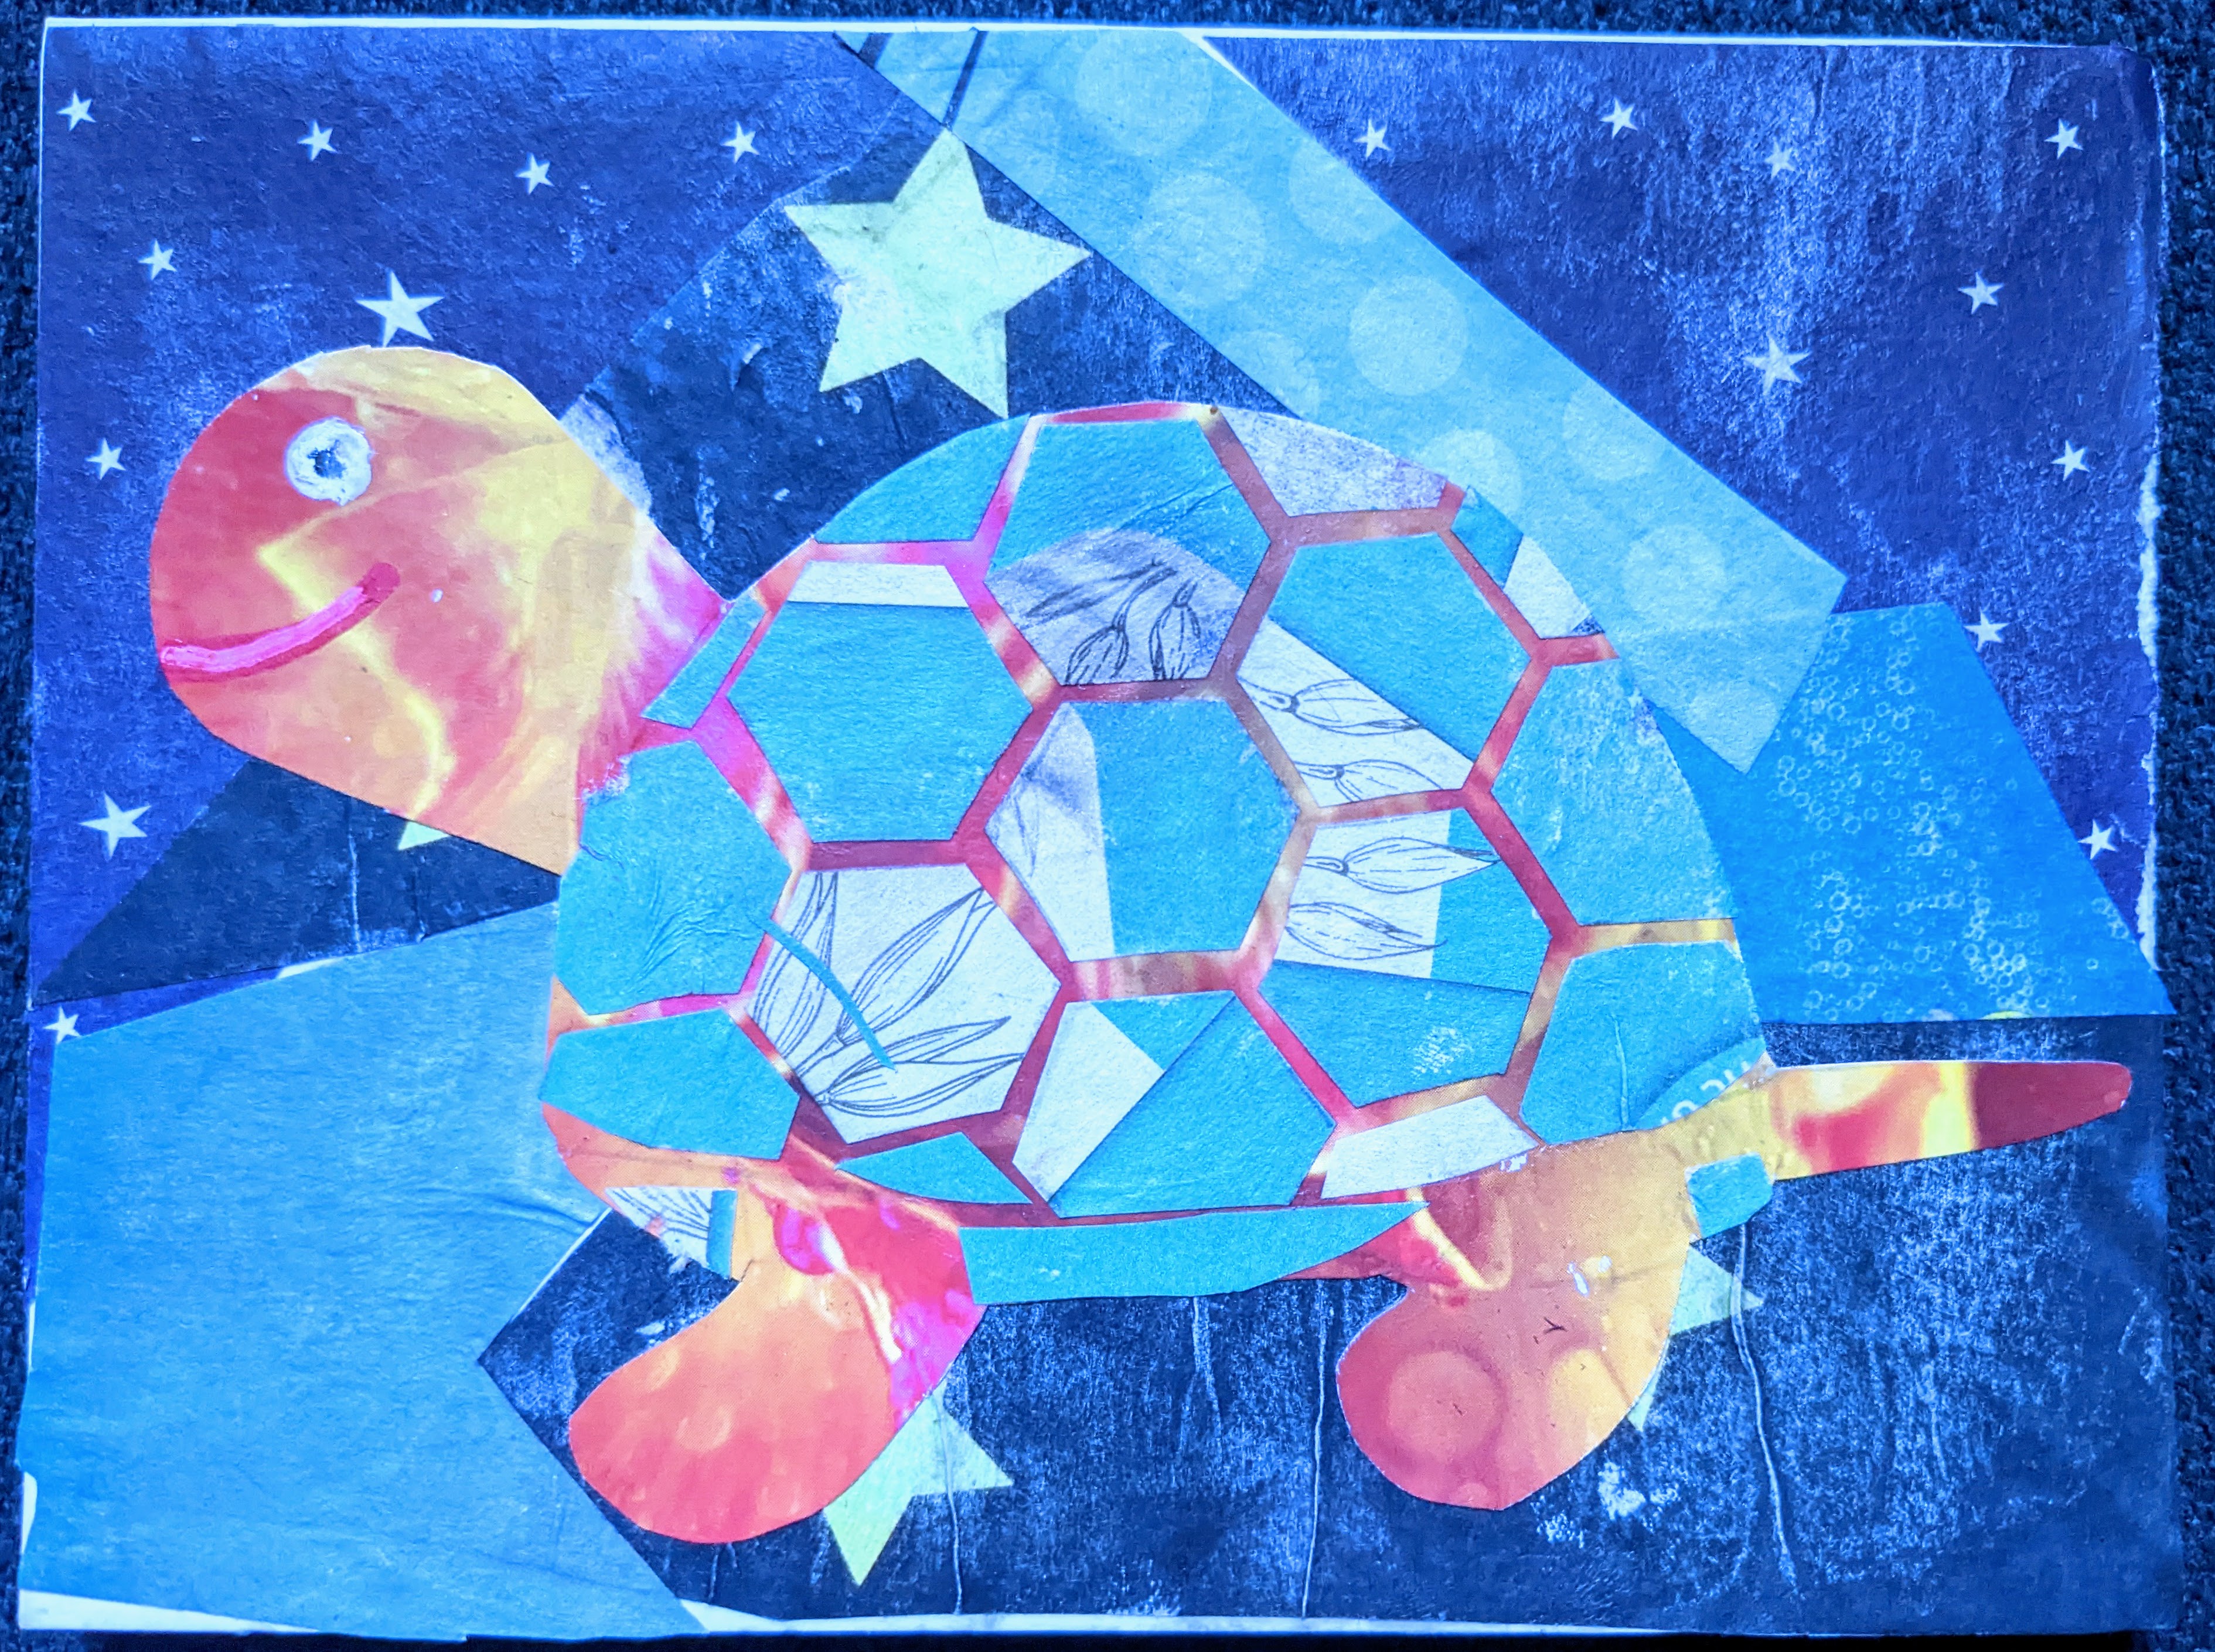
Everybody climb aboard the Flying Sea Turtle Honeymoon Express!
At last I can reveal what I’ve been doing with every free second in which I had the ability to focus during the last 10 days! It’s a mosaic collage for my sister and brother-in-law! The had a civil ceremony on Tuesday, and their big wedding is going to be tomorrow. I haven’t given them this gift yet, but I can’t imagine my sister will be spending a lot of time on the Internet the day before she gets married.
I had a bunch of other ideas for their gift, but everything fell through and making something cool was the only reasonable option. I chose a sea turtle because I know they like turtles, and a Vancouver-inspired backdrop because that’s where they live.
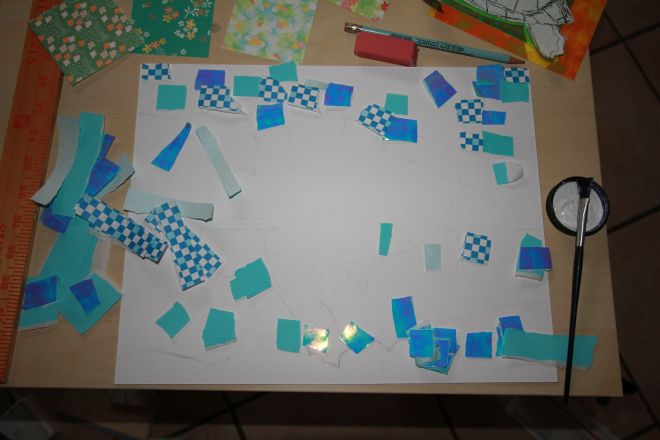
You can’t really see my pencil marks but I assure you I wasn’t making this up as I went along.
I started out by purchasing a bunch of origami paper and this 11×14 board. I sketch out the islands in pencil, tore up the blue paper, sketched out the turtle on notebook paper (you can see a bit of it in the upper right hand corner) and generally chose colors for things.

Scenery coming together.
Using matte medium, I began to mount the squares onto the board to form a background representing mountainous islands and their reflection in the water. I used a bunch of metallic and foil papers, which don’t photograph that well, because their colors change depending on the light. I would sort of like to make a shirt out of this design, but I’m not certain how well it will translate.

The turtle isn’t mounted yet, but I needed to keep checking that it fit.
Then I began the turtle. Using my original sketch, I cut out a silhouette, and then I created stencils for the individual pieces of the turtle by slowing dismantling the sketch. You can see the diminished remains of the sketch to the right. The metallic background paper is orange, with green streaks if you turn it in the light.

I’m a delightful creature!
Here, the turtle is complete. Just the details on each flipper took about 20 minutes. The turtle itself probably took 4 or 5 hours. It wasn’t as easy to do such fine work as it used to be; my body doesn’t want to sit for that long at a stretch, and my eyes don’t want to focus on tiny details, and my hands tire easily, especially cutting small pieces like the skin texture. Now the sketch is in 50 pieces scattered all over the office.
Somehow I neglected to photograph the process for the man and woman riding the turtle, but if you scroll back up you can see them, although I wonder if their colors ought to be brighter and more contrasting. Well, like everything, I learned a lot. If I did it again, it would be different and possibly better, but there’s no way I could do this again. Maybe another animal.
So, all in all, the completed project probably took close to 20 hours. I lose track of time when I’m working. Sometimes I have to keep Netflix playing, even though I’m not watching, just so I have a way to mark the passage of time and remind me how many hours I’ve been sitting there.
Congratulate my sister on her nuptials if you know her!